How to Change Apple Watch Band: Ultimate Guide
The Apple Watch is not just a device that tells time; it is a versatile tool for fitness tracking, receiving notifications, and much more when paired with an iPhone. One of its standout features is the ability to change bands, allowing users to match the watch with different outfits or occasions effortlessly. This guide will walk you through the steps to change your Apple Watch band, whether it’s a link bracelet or a Milanese loop, and highlight the types of bands you can choose from.
Preparing to Change Your Band
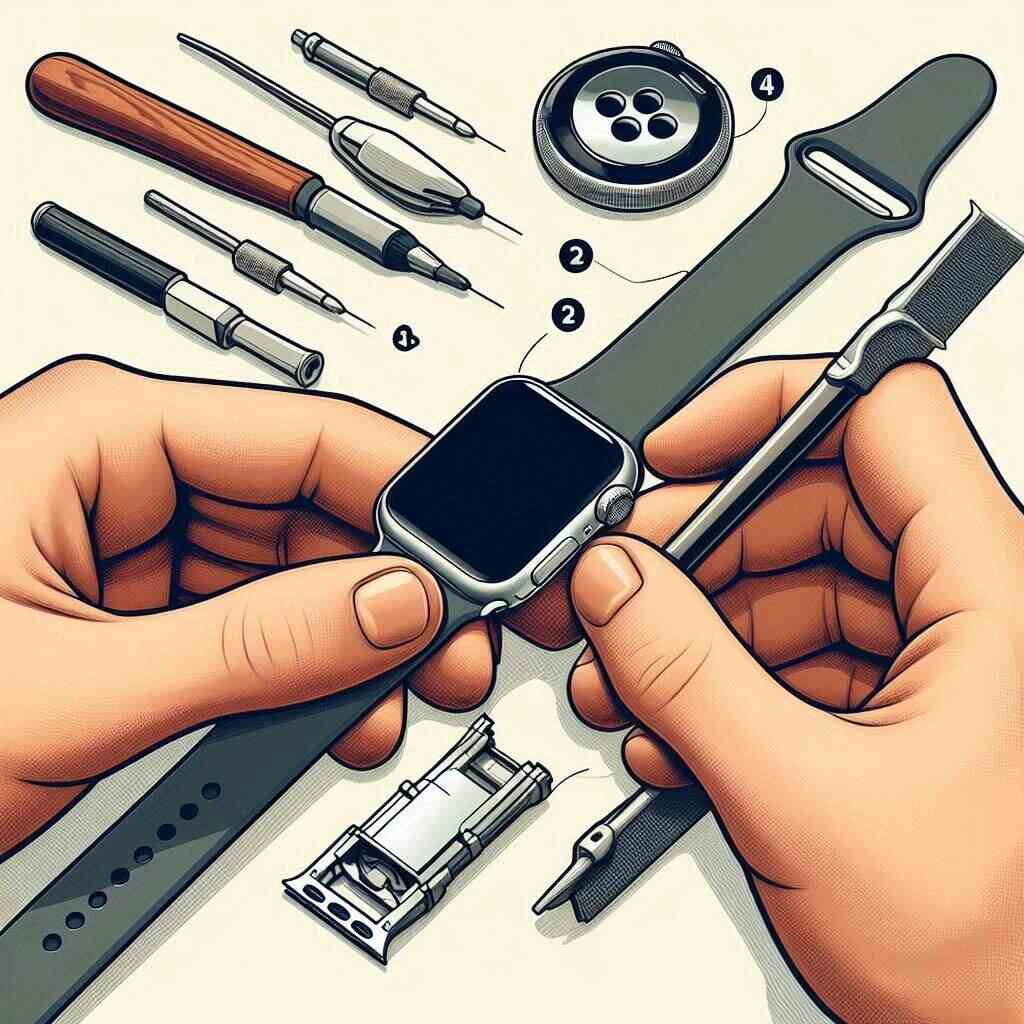
Before you start the process of changing your Apple Watch band, ensure that you have the correct size and type of replacement band. Compatibility is key, as Apple Watch bands are designed to fit specific case sizes. Once you have the right band, lay your Apple Watch face down on a soft, clean surface to prevent any scratches or damage to the watch face.
How to Change an Apple Watch Link Bracelet

The Apple Watch Link Bracelet is sophisticated and modern, but it requires a bit more effort to change due to its unique design.
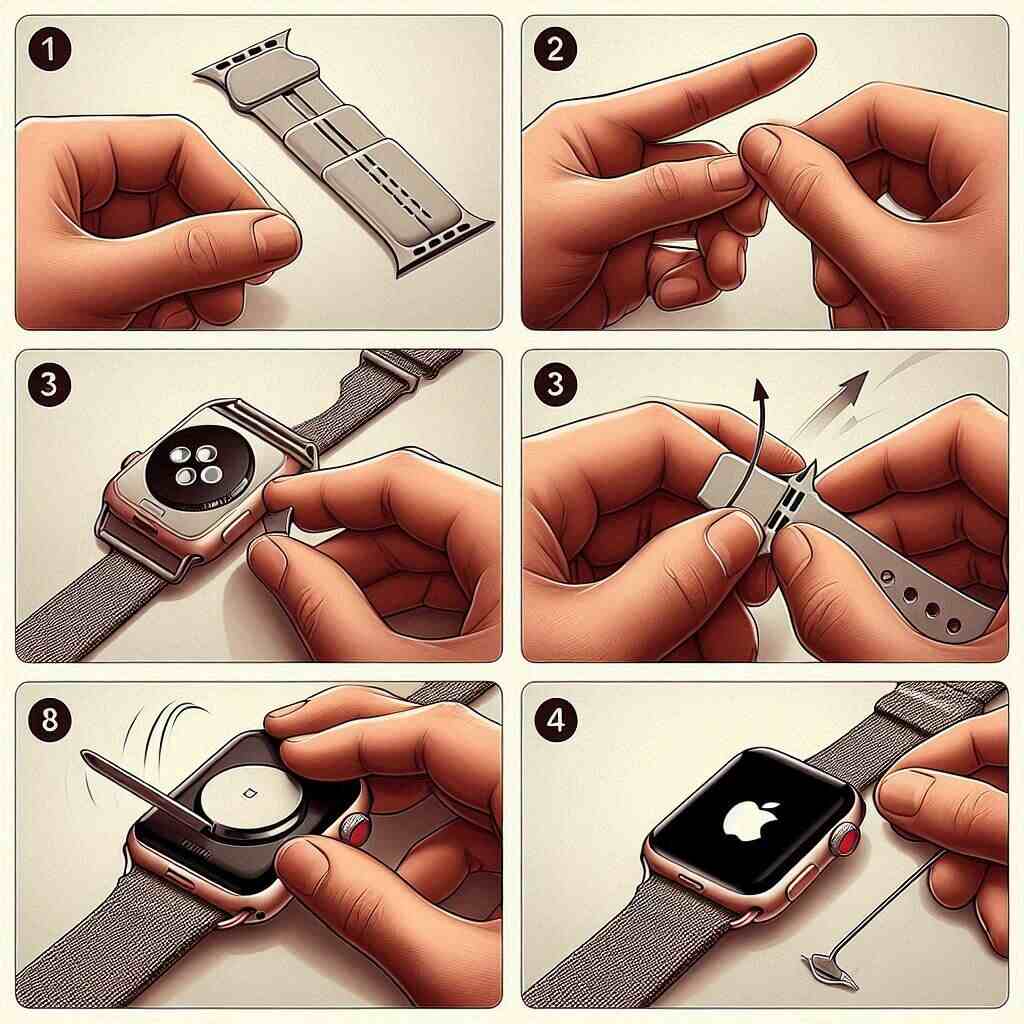
Steps to Change the Link Bracelet:
- Press the Quick Release Button: Find the quick release button on the inside of the link bracelet. Press and hold this button to release the band into two parts.
- Remove the Band: While pressing the release button on the back of the Apple Watch, slide the band out gently. Ensure you do not force it as it might jam.
- Attach the New Band: Take your new link bracelet and align it with the connector. Slide it in until you hear a click. This confirms the band is securely attached.
- Test the Connection: Gently tug on the band to ensure it’s securely attached. Adjust it around your wrist and secure it in place.
How to Change an Apple Watch Milanese Loop
The Milanese Loop is a single piece of woven stainless steel with a magnetic clasp, making it relatively easy to change compared to the link bracelet.
Steps to Change the Milanese Loop:
- Press the Release Button: Hold the release button on the back of the watch and slide the Milanese Loop out.
- Attach the New Band: Align the new Milanese Loop with the connector. Slide it until you hear a click, ensuring it’s properly in place.
- Adjust and Test: Wrap the band around your wrist, adjusting the magnetic clasp for a perfect fit. Give it a gentle tug to make sure it’s secure.
Apple Watch Band Compatibility
Understanding the compatibility of various Apple Watch bands with different models is crucial before making a purchase:
- Apple Watch Ultra and Series 8 and 9: These models accommodate bands designed for larger case sizes including 44, 45, and 49 millimeters.
- Apple Watch SE, Series 4 to 6: Compatible with bands for 42, 44, and 45 millimeters if you have the larger case model, and 38, 40, and 41 millimeters for the smaller case.
- Apple Watch Series 3: Works with bands designed for 38, 40, 41, 42, 44, and 45-millimeter cases, depending on the watch size.
Types of Apple Watch Bands
Apple offers a wide variety of band types to suit any style or occasion:
- Sport Band: Known for its durability, available in over 100 colors, water-resistant, and designed to be sweat-resistant.
- Milanese Loop Bands: These feature a magnetic clasp and are made from high-quality stainless steel, perfect for a sophisticated look.
- Apple Ultra Bands: Introduced with the Apple Watch Ultra, including styles like the Alpine Loop, Trail Loop, and Ocean Band, each designed for specific activities.
- Solo Loop Bands: Made from a stretchable material that slides over the wrist, these bands are not adjustable, so getting the correct size is crucial.
Strap on and Go
Changing your Apple Watch band is a simple process that can significantly alter the look of your watch. Whether you’re dressing up for a special occasion or gearing up for a workout, there’s an Apple Watch band to suit your needs. By following the detailed steps above, you can switch your bands with confidence and ease, keeping your Apple Watch both functional and stylish.
Swapping Bands for Different Occasions
The ability to switch out bands quickly means you can adapt the style and function of your Apple Watch to fit any occasion. Here’s how you might choose different bands based on the activity:
Formal Events
For a business meeting or a formal dinner, the Milanese Loop or a Leather Loop can add a touch of elegance. These bands are not only stylish but also comfortable, allowing you to wear your watch for long periods without discomfort.
Everyday Wear
The Sport Band is ideal for everyday use. It’s made from a custom high-performance fluoroelastomer, making it strong yet surprisingly soft. Its smooth, dense material drapes elegantly across your wrist and feels comfortable next to your skin.
Sports and Fitness
If you’re heading to the gym or going for a run, consider the Nike Sport Band or the Ocean Band. These bands feature compression-molded perforations for breathability and are made from custom high-performance fluoroelastomer. The Ocean Band, in particular, is designed for extreme durability and comfort even in the deepest waters, making it perfect for swimmers.
Outdoor Adventures
For those who enjoy hiking or outdoor adventures, the Trail Loop or the Alpine Loop can be your best choice. These bands are made from materials that can withstand rugged environments. The Alpine Loop, for example, features a double-layer nylon weave with dense loops on the skin side that provide soft cushioning while allowing moisture to escape.
Caring for Your Apple Watch Bands
Maintaining your Apple Watch bands is crucial to ensure they last longer and remain in good condition:
Cleaning Tips
- Silicone Bands: Clean with a lint-free cloth slightly dampened with fresh water.
- Leather Bands: Wipe the leather portions of the bands clean with a non-abrasive, lint-free cloth, lightly dampened with fresh water (if needed).
- Metal Bands: Regularly clean metal bands with a non-abrasive, lint-free cloth. If required, lightly dampen the cloth with fresh water.
Storage
Store your Apple Watch bands in a cool, dry place away from direct sunlight. If you have leather bands, keep them in a breathable pouch to prevent moisture accumulation that can cause damage.
Troubleshooting Common Issues
Even with proper use, you might encounter some issues when changing bands:
- Band Sticks or Jams: If a band sticks or jams, press down the release button again and gently wiggle the band free.
- Difficulty Attaching the Band: Ensure that you’re sliding the band in the correct direction and that the text on the band is facing you when clipped. If you still face trouble, double-check that no debris is lodged in the band connector or the groove.
Conclusion
The modular design of the Apple Watch makes it uniquely suited to a lifestyle that values both form and function. By mastering the simple process of changing bands, you can ensure that your watch is always an appropriate and stylish companion, no matter the setting or activity. With a variety of bands to choose from and the knowledge of how to care for them, you can enjoy a fresh look as often as you like, keeping your Apple Watch both functional and fashionable. This adaptability is just one of the many reasons why the Apple Watch continues to be a popular choice among tech enthusiasts and fashion-conscious users alike.